
Lazada has become such a well-known eCommerce platform amongst Malaysians that Lazada is the first name to pop into many of our heads when the topic of online shopping is brought up.
The popularity of Lazada does not only apply to consumers but also sellers as there are no registration or item listing fee needed; instead, charges are applied per transaction which is a more generous deal compared to other platforms.
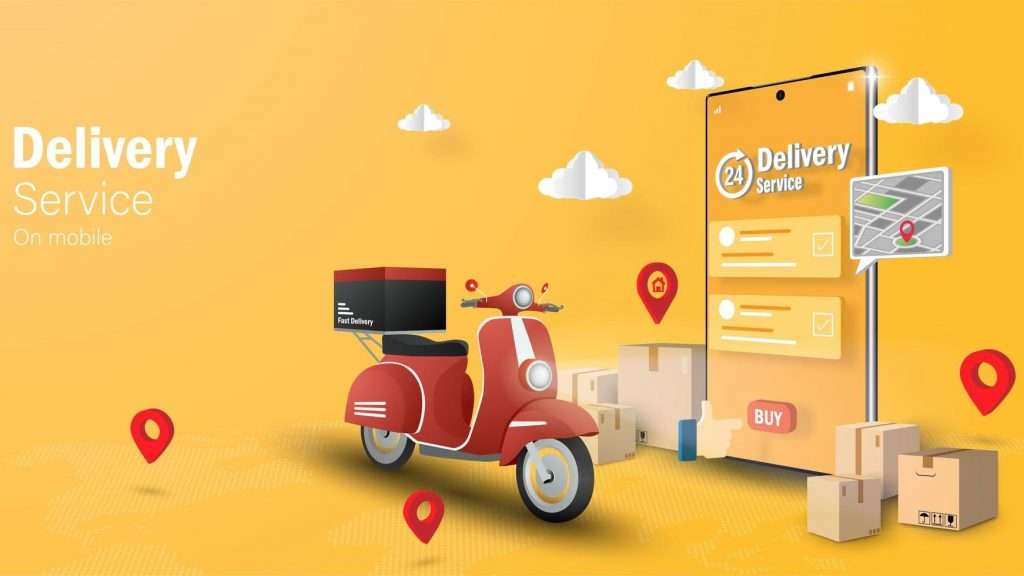
With a user-friendly interface, Lazada is a highly recommendable platform for you if you wish to enter a marketplace and sell your products!
If you’re ready to start up your selling journey on Lazada, read on, and we will guide you through it!
1. Sign up as a seller

Lazada is firmly against fraudulent sellers and counterfeit products, so the registration process might be a little tedious compared to other platforms. Even if you have a Lazada account as a buyer, you will still need to create a new account as a seller.
For starters, go to Lazada Seller Centre and click “Become A Seller” to register a seller account. Next, identify the type of seller you are by choosing from these three options:
- Lazmall Seller- Choose this if you are a brand owner of official brands
- Local Seller- Choose this if you are a Malaysian seller hoping to sell your own products on Lazada
- LazGlobal Seller- Choose this if you are based in China/Korea/Japan and are a registered business
Once you’ve selected the type of seller that suits you, you will be required to fill in your mobile phone number for verification purposes.
Then, proceed to fill up your details such as username and password. If you have read and agreed to Lazada’s terms and conditions, click “Sign up”.
2. Fill up the address book

Next, you have to provide the address of your business, warehouse, and return. In the case where all three of them share the same address, you should mark the “Same as Warehouse/Return Address” box after filling up one of the three. Doing this will save you the effort of filling up the same address three times!
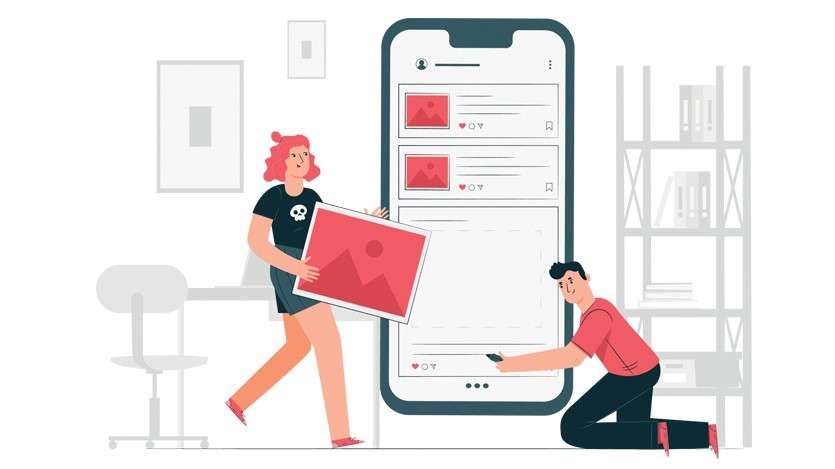
3. Upload your products

Then comes the crucial part of this process—uploading the products you intend to sell on Lazada. To do this, you could either choose to do it one by one or by bulk by clicking on the “Batch Upload” button.
4. Insert product details and design with Lorikeet
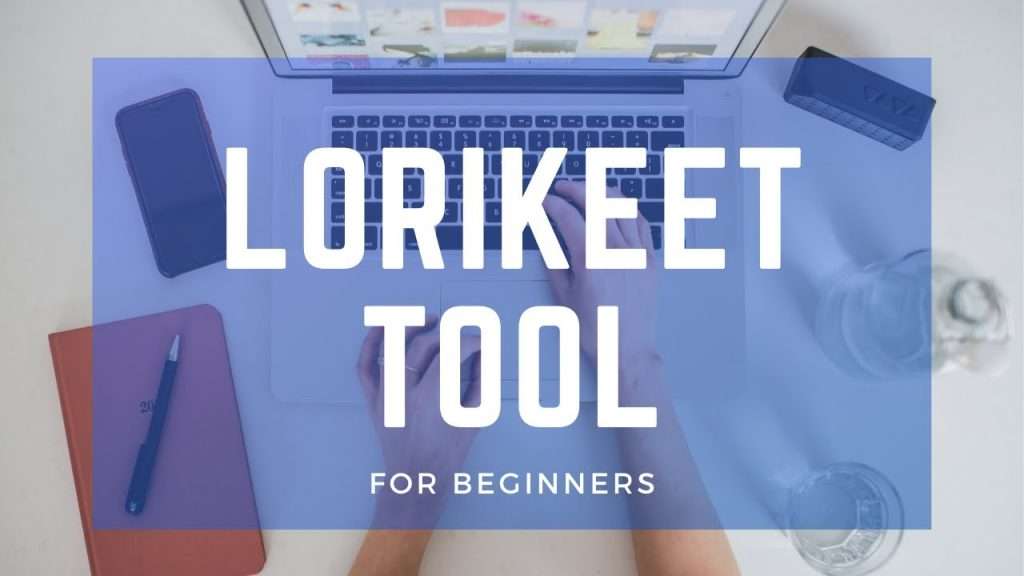
In this next step, you must provide basic product details, which are split into two types—Long Description and Short Description. For the latter, a simple text and several images will suffice to advertise your product.
On the other hand, you need to key in more than just a simple description and design if you are using Long Description. This is where you will be asked to use “Lorikeet” to enrich your content. (Beware: without using Lorikeet, Lazada may not consider your product “attractive” enough and may unlist it from the marketplace).
Fortunately, it is easy to navigate through Lorikeet, as they provide templates to help you through this process.
For first-timers, if you find the interface for Lorikeet challenging to use, you can switch to the old version of Lorikeet, which provides you with a more basic selection of tools and functions. You may complete this process on either the Lazada app and website.
5. Fill up the details of the package

With that done, you may proceed to fill up further details of the product you wish to sell.
Some of the fields here, excluding the Package Weight, Package Dimension, and Brand section, are optional. In the case where your products come with several variations, you have to enter the details for each, one by one.
6. Publish your product
Once you have given the complete details of your product, click “Publish” and your product will be listed successfully onto the Lazada marketplace. If you wish to upload another product, click “Add Another Product”.
7. Verify your ID and bank information

Moving on to the next step, which is to verify your ID and bank information, first, start by entering your personal information such as your name and IC number. A copy of your IC is required as well, and you can upload this onto the designated field.
After filling up your personal information, proceed to fill up your bank account information. Once you have filled up the necessary fields, click “Submit”, and with that, your Lazada seller account is set up. You are now officially ready to receive orders and sell to Lazada users!
8. Managing orders
Although you will receive an email notification for every incoming order, it is still recommended for you to log in to the Lazada seller Centre frequently to ensure that you have not missed any orders. To check your orders, select the “Orders” panel on top, and click on “Manage Orders” from the drop-down.
Once you’ve clicked that, you will be brought to a list displaying all the orders you’ve received. Pay attention to pending orders and click on the “+” icon for more detailed information regarding the order.
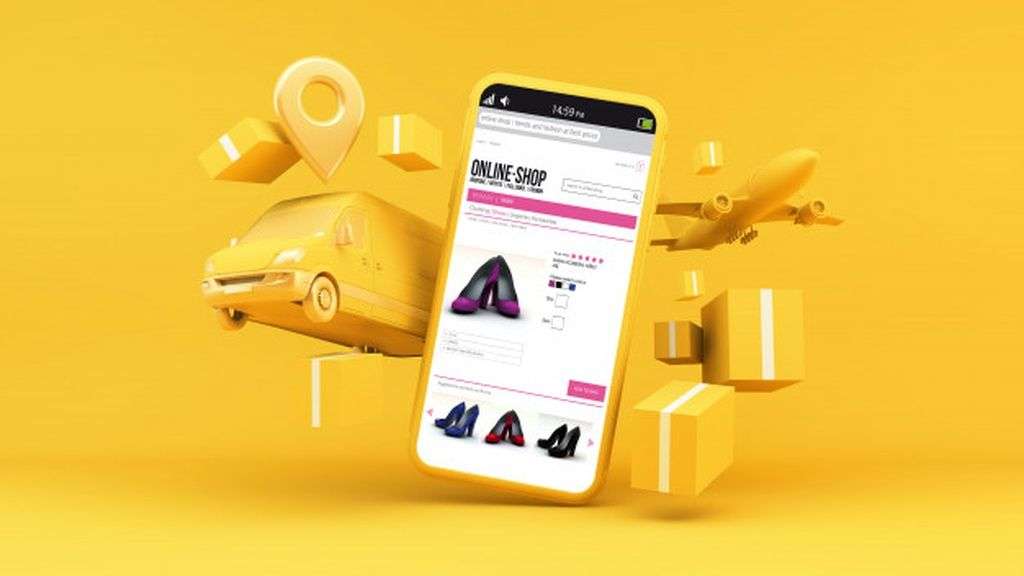
9. Shipping
Once you’re ready to ship out your product, click on “Ready to Ship” on the right-hand column of the chosen buyer. After you select your desired delivery provider, click “Create Package”.
Then, a prompt will appear asking you to confirm your invoice number, which would be auto-generated, but you can still edit it if you wish. Click on “Save invoice ID”.
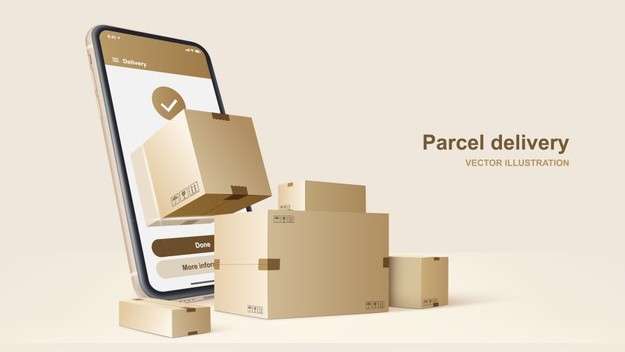
10. Packing and delivery
Moving onto the final phase, proceed to pack your products as per the requirements proposed by Lazada. Then, print out the invoice and insert it on the parcel as well.
A tick will appear under the “printed” column in the orders list page once you have printed the invoice. Then, click on “Ready to Ship”.
After that, a prompt box with the heading “Invoice ID has been saved” will pop up. Proceed to print out the shipping labels (heads up: depending on the carrier service you have chosen, they each have different requirements, so you would have to print out the labels accordingly).
After that, click on “Ready to ship” and you are ready to drop off your parcel at your nearest delivery branch!